Power User Initiation: Becoming 2x faster at writing and managing your notes
Take time to master these essential Obsidian features and hotkeys to become as fast as you can be and reclaim the joy of writing notes.
My Blog has moved
If you want to receive updates, new content, and tips, head to my website and sign-up!
If you want to take notes efficiently, you have to eliminate friction: i.e. the time it takes to create, categorise, navigate & format your text. With the tips I will show you today, you can become twice as fast at it. Your initiation into a power user begins now.
The tool we are going to use is Obsidian. Check out the academic note-taking system if you are unfamiliar with Obsidian.
I want you to be able to fix typos in milliseconds and eliminate the drudgery of moving files around to keep your vault clean and organised.
Most importantly though, you will increase the joy of writing - as you are not distracted by the “bureaucracy” anymore.
I personally find that I can even focus better, if I don’t have to task switch between what I am doing and the tool I am using.
Here the Pareto principle holds true: Learn 20% of the features/hotkeys, and save 80% of the time.
In practice, you will have to learn about 15 keyboard hotkeys to become twice as fast at editing your text and navigating Obsidian.
Do I have your attention? I will need it. Learning hotkeys and pro features can be daunting. It doesn’t have to be. I created a summary for you at the very bottom to keep as a reference and made a vault with everything preconfigured.
Disclaimer: Not all the hotkeys I present here are set by default in Obsidian - they also differ if you use windows. But you can skip ahead and see how you can set them yourself or how you can download my settings and import them to your vault. Where applicable, I also noted the Windows equivalent of the hotkey - the features though work equally on all systems.
Let's dive in.
Formatting Text
Let's start small. These hotkeys you probably know already. There are often the same in other software as well.
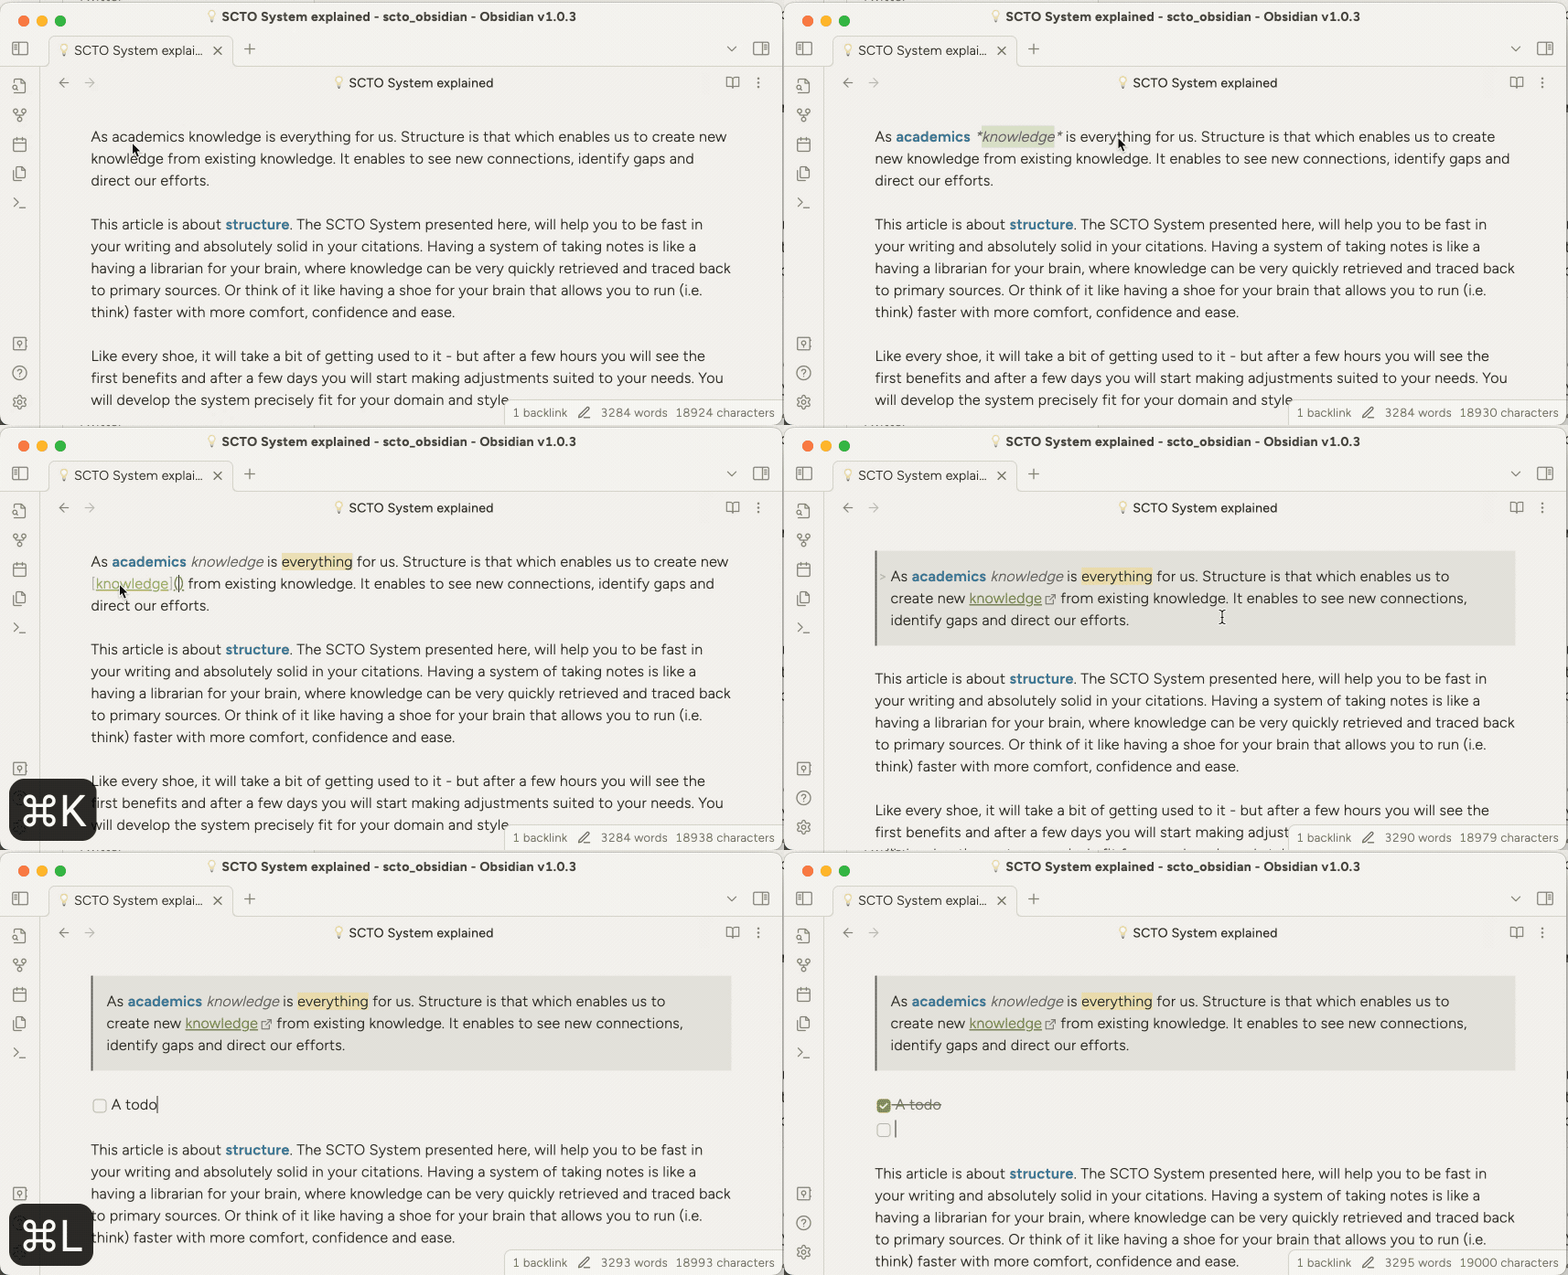
⌘ + B: Bold (ctrl + B on windows)
⌘ + I: Italic (ctrl + I on windows)
⌘ + H: Highlight (ctrl + H on windows)
⌘ + L: Checkbox (ctrl + L on windows)
⌘ + J: Blockquote
⌘ + K: (Web-)Link. (ctrl + K on windows)
Here is how fast formatting becomes, if you don’t use the mouse.
Navigating Text
These hotkeys are the workhorse of fast editing text. They are universal for the whole system, yet so few people know them. I think it is because they take a little bit more time to learn and use consistently.
These hotkeys will allow you to move and select text FASTER than by using a mouse.
Once you reach this state, which probably won't take very long, you will really feel what I mean by "becoming twice as fast". Learning the other hotkeys will become a much more pleasant task.
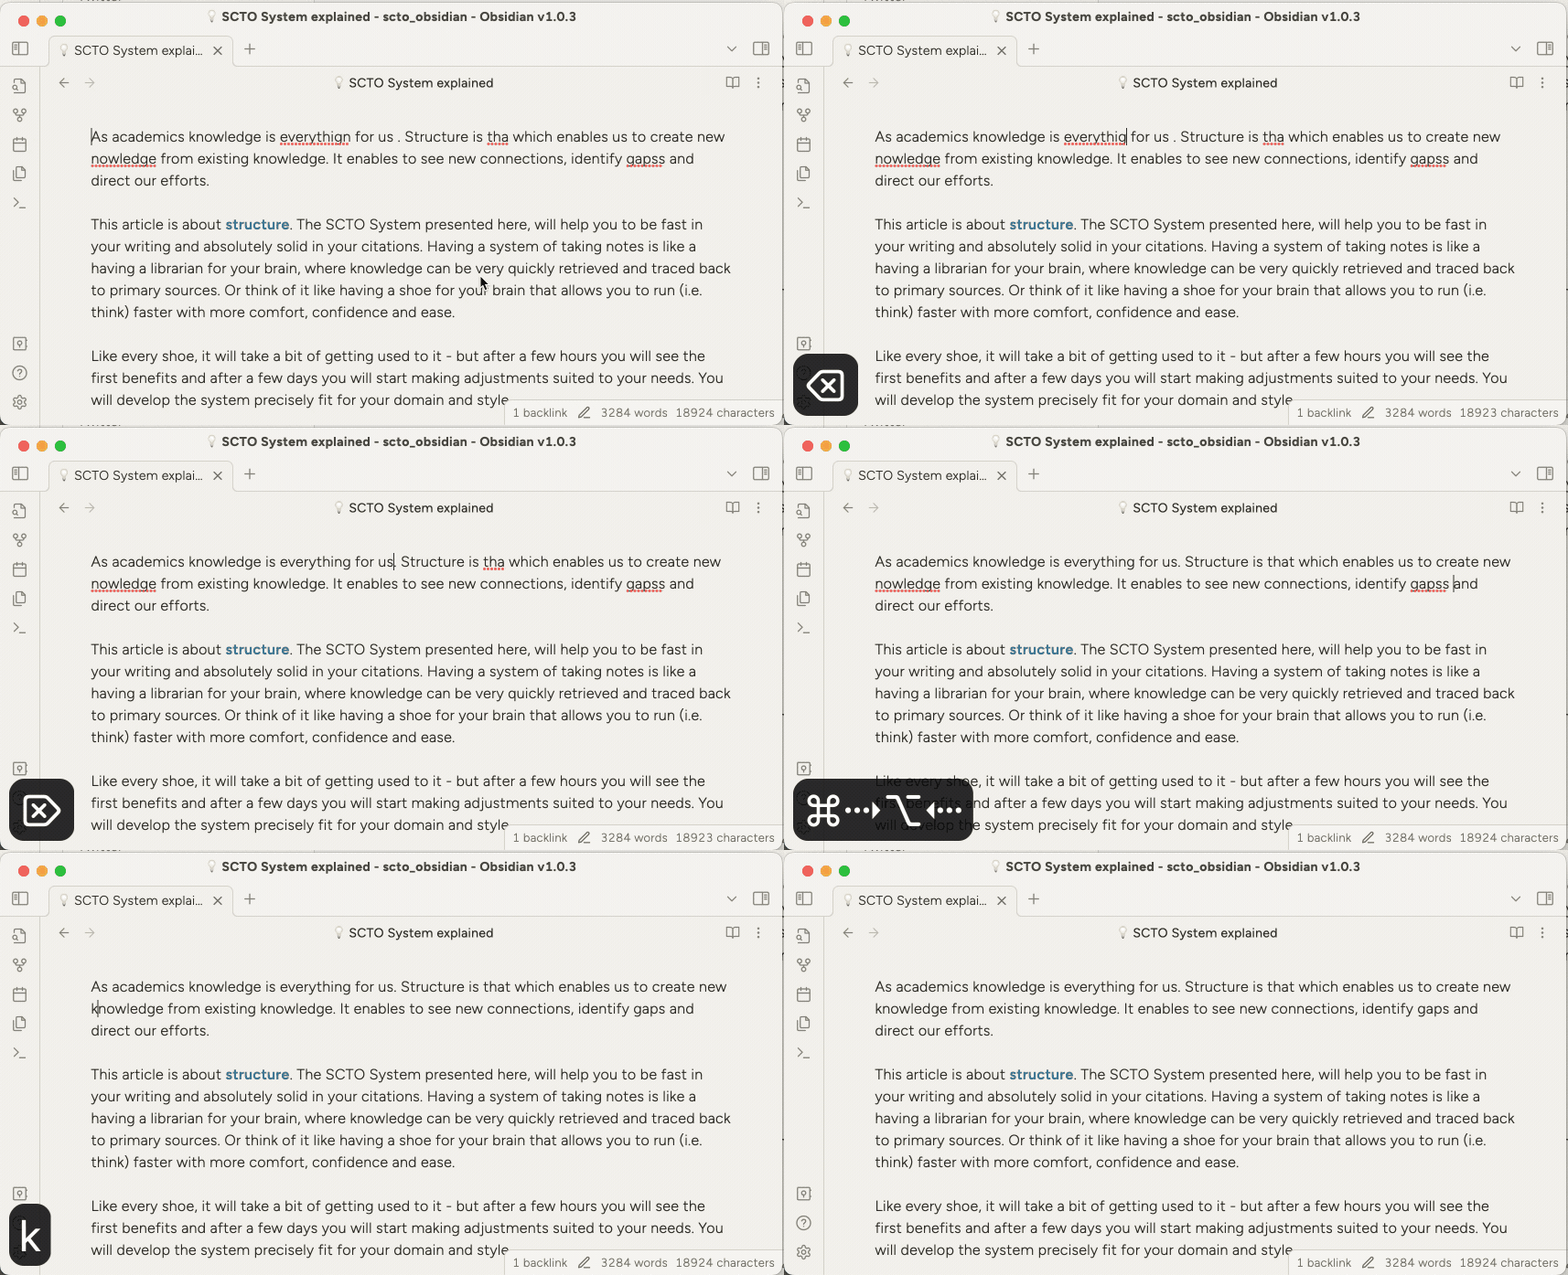
⎇ + → or ⎇ + ← : Moving one word forward or back (ctrl + ↔ in Win)
⌘ + → or ⌘ + ← : Moving a whole line forward or back (Home and End Keys in Windows)
Could you fix those 4 typos in a few seconds with a mouse?
The good thing is that you can use two hands for these shortcuts. If you start moving the cursor in the direction left or right and just want to "speed up" you use the ⎇ key if you want to speed up even further you hold the ⌘ key instead. Think of them as simply accelerators to using the arrow keys, which you already do.
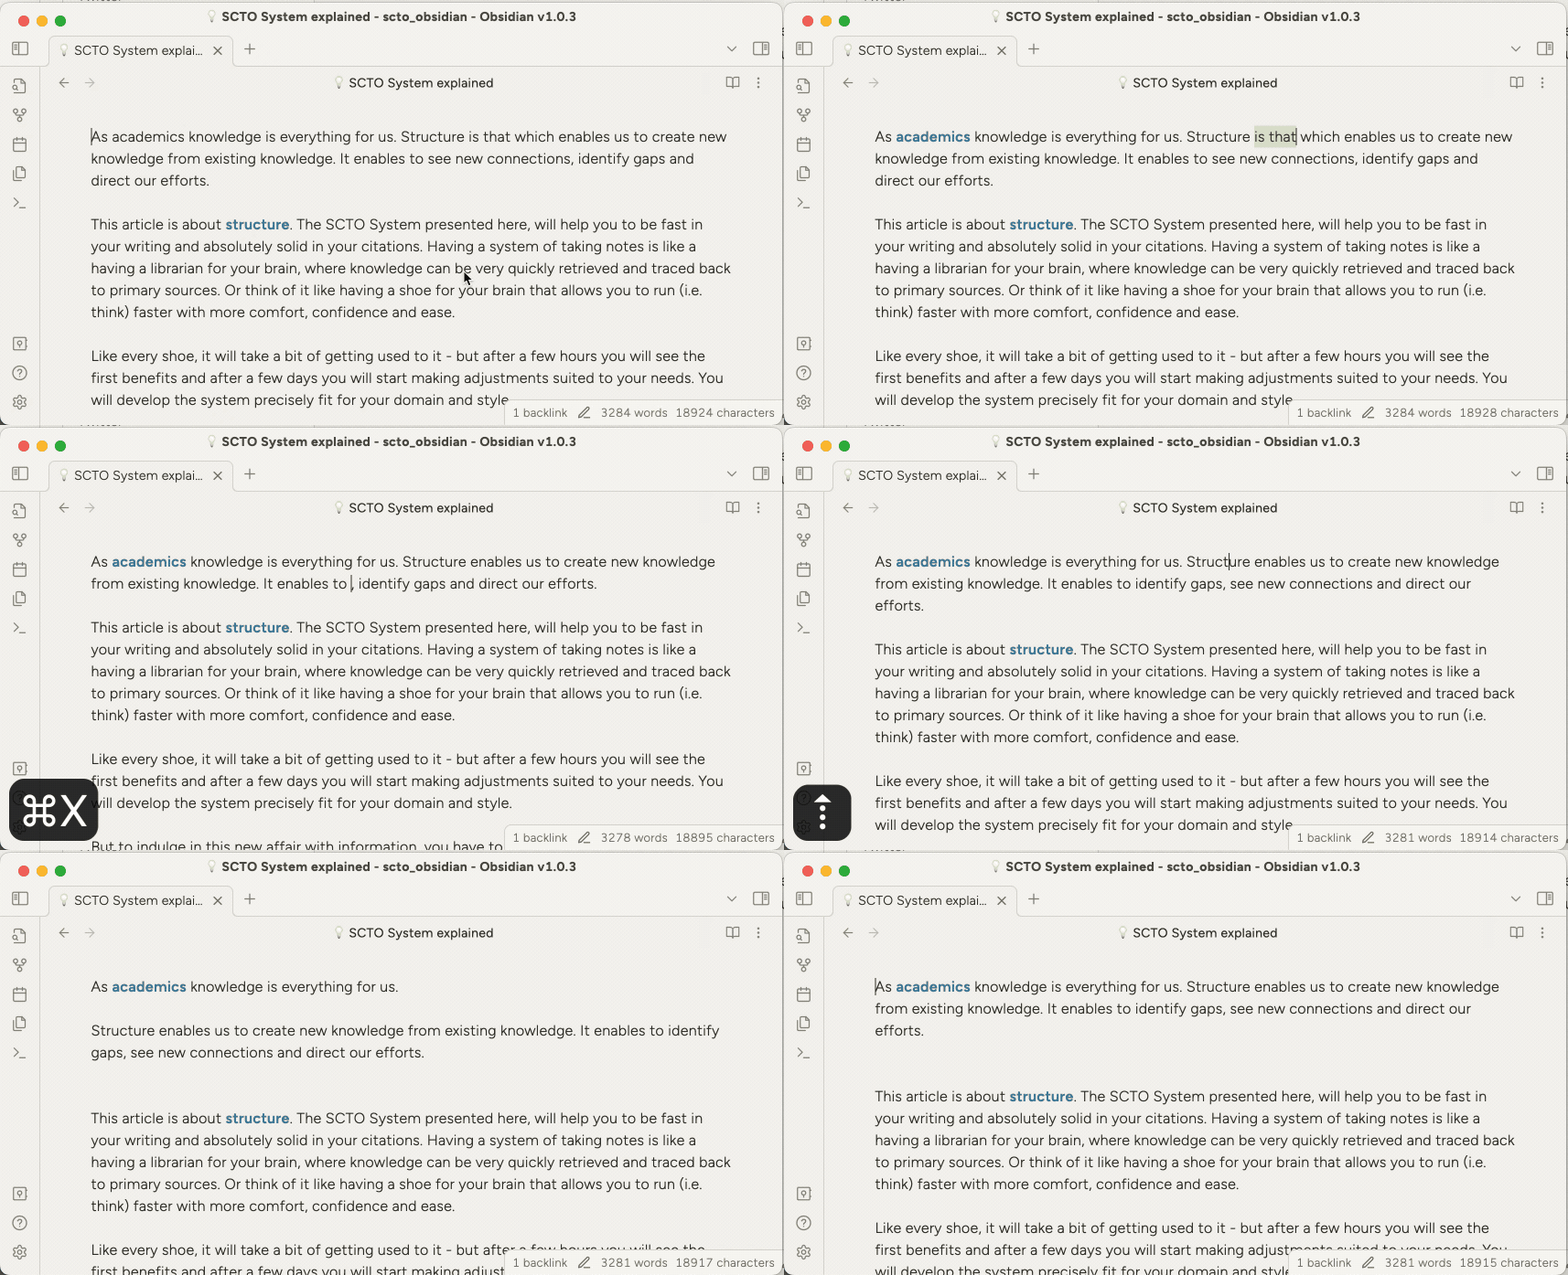
Now the real deal is when you hold your left SHIFT ⇧ additionally. Because now you start selecting words as you go. 3 Key Hotkeys are really hard to learn. If you are not used to it at all start by simply using the arrow and shift key for a while and then think of ⌘ and ⎇ as accelerators for the movement of the cursor.
⇧ + ↔: Selecting characters (same in Windows)
⇧ + ⎇ + ↔ : Selecting words (⇧ + ctrl + ↔ in windows)
⇧ + ⌘ + ↔ : Selecting lines
It is hard to visualise how using the keyboard instead of the mouse “feels” but here is my best shot. Notice how quickly whole sections and sentences are pushed around.
I will leave it up to you to try what happens when you use the up and down arrows as well.
Pro Tip:
Go to the settings of your keyboard and set the sensitivity to maximum. It will feel a bit strange at first but you will get used to it in a few hours. This will enable the technique outlined here to really shine!
Navigating Notes and Folders
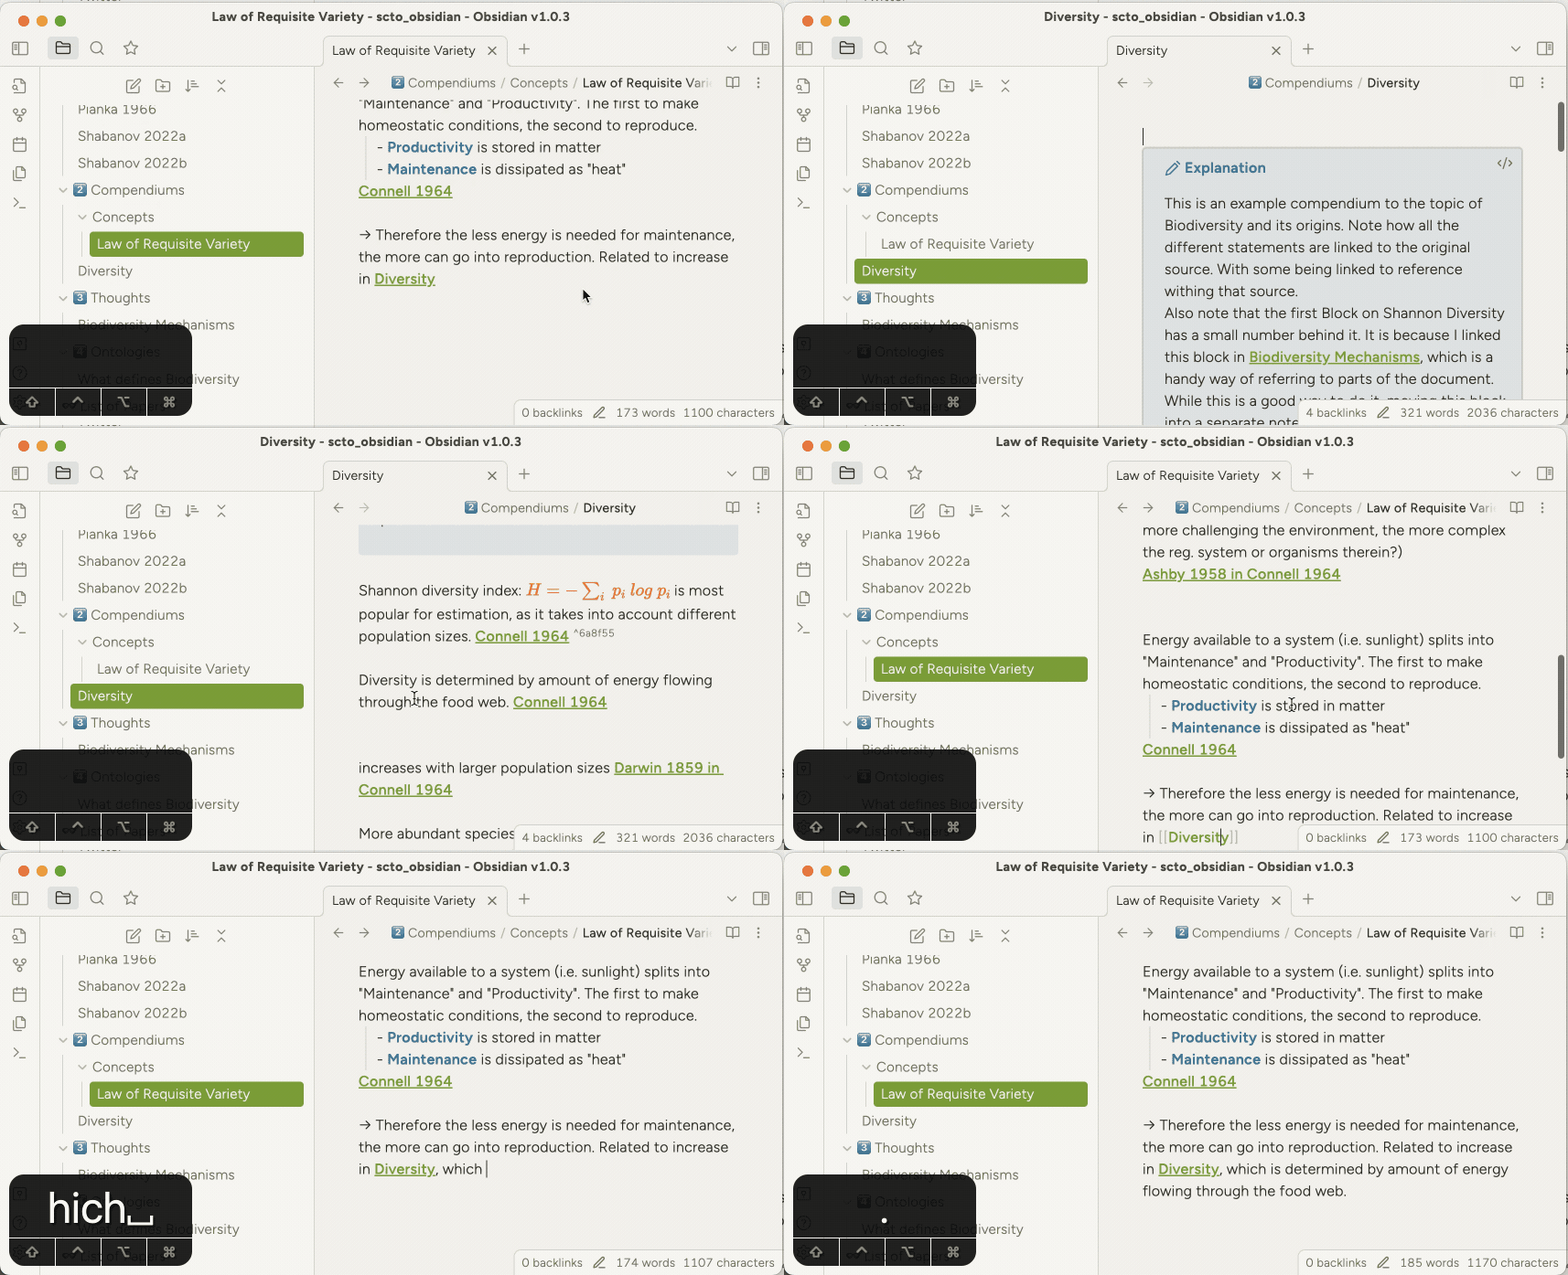
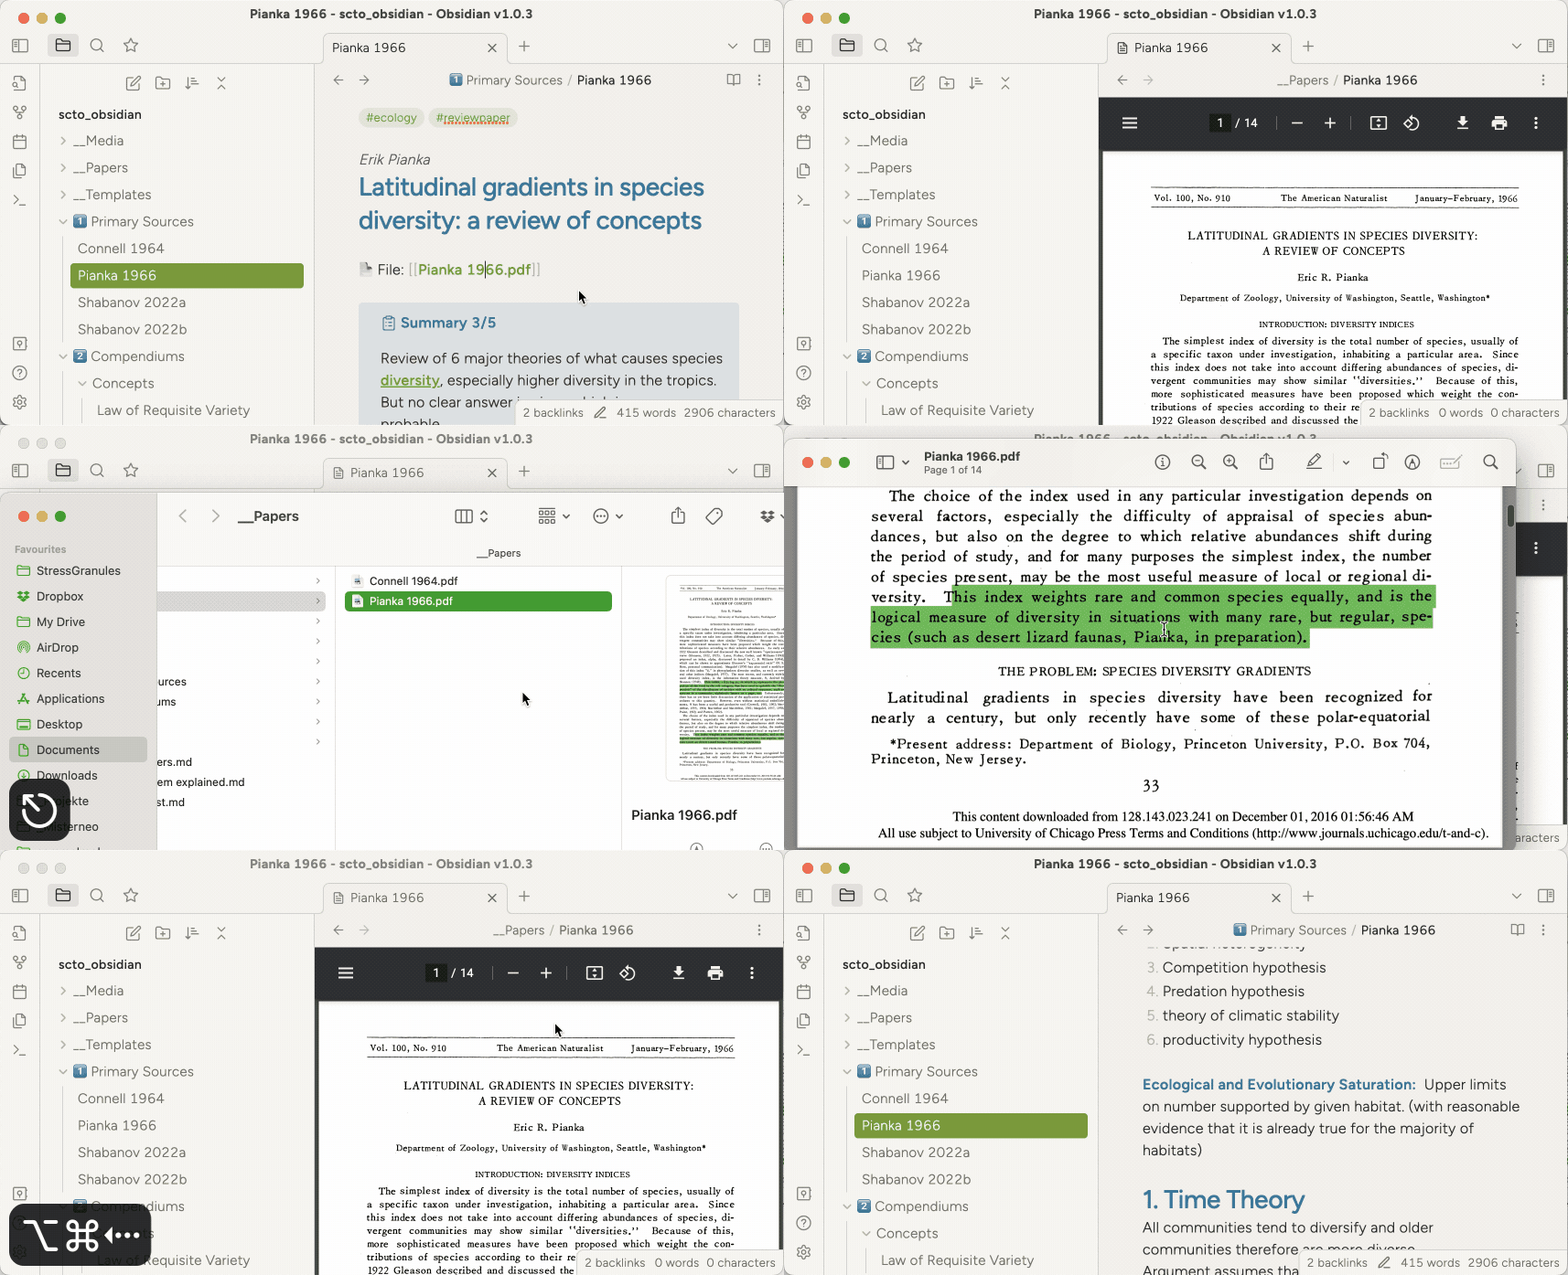
The combination of "Follow Link under cursor" and "Navigate Back" allows you to quickly go to a note (possibly do something with it) and return to the original location.
⎇ + Enter: Follow Link under cursor
⎇⌘ + ←: Navigate back
Here is an example where I go to the linked note “Diversity”, find something I would like to copy paste, then go back to actually add it to my current note - all using the two hotkeys above.
Why would this be useful? Here are my typical use cases.
I link a PDF in my note and want to read/annotate the PDF:
⎇ + 3: Open in Default App
I link to a PDF and want to quickly send it to someone:
⎇ + 2: Reveal in Finder
Here is an example where I navigate to the PDF attached to a note and then quickly open it either in the Finder to share it with someone - or in the default app to keep reading it.
Managing your Notes
⌘ + N: Create a new note (ctrl + N in Windows)
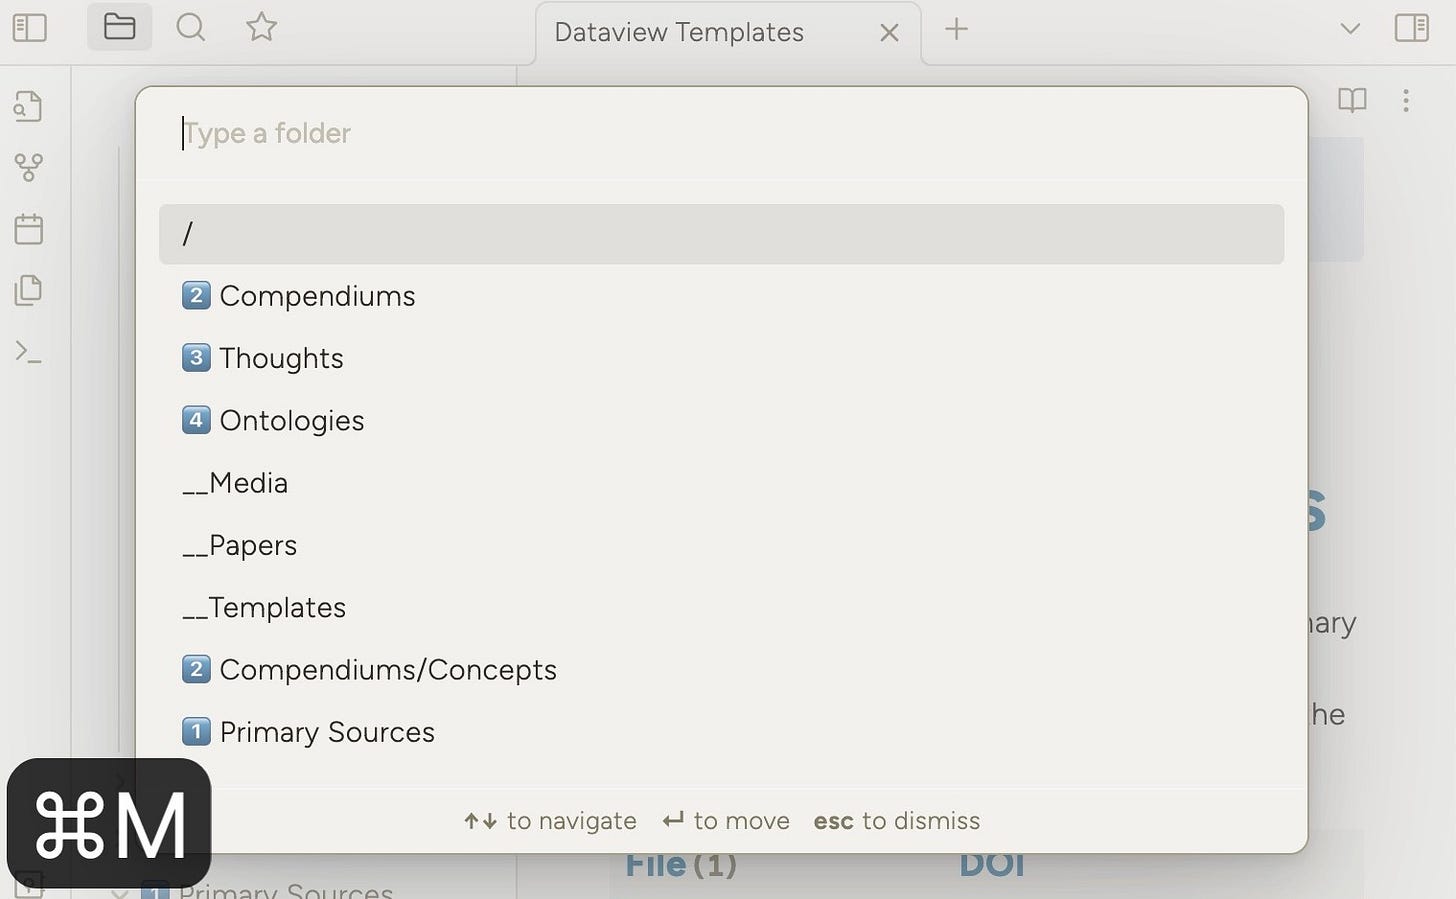
⌘ + M: Move the current note to a new folder
I end up using this combo very often. In the system, I am using to store my notes. All papers for example go into a separate “primary sources” folder. So when I create a note, I move it immediately to a folder I want to use a shortcut.
The same goes for images, PDFs, or anything that is imported (see next Tip).
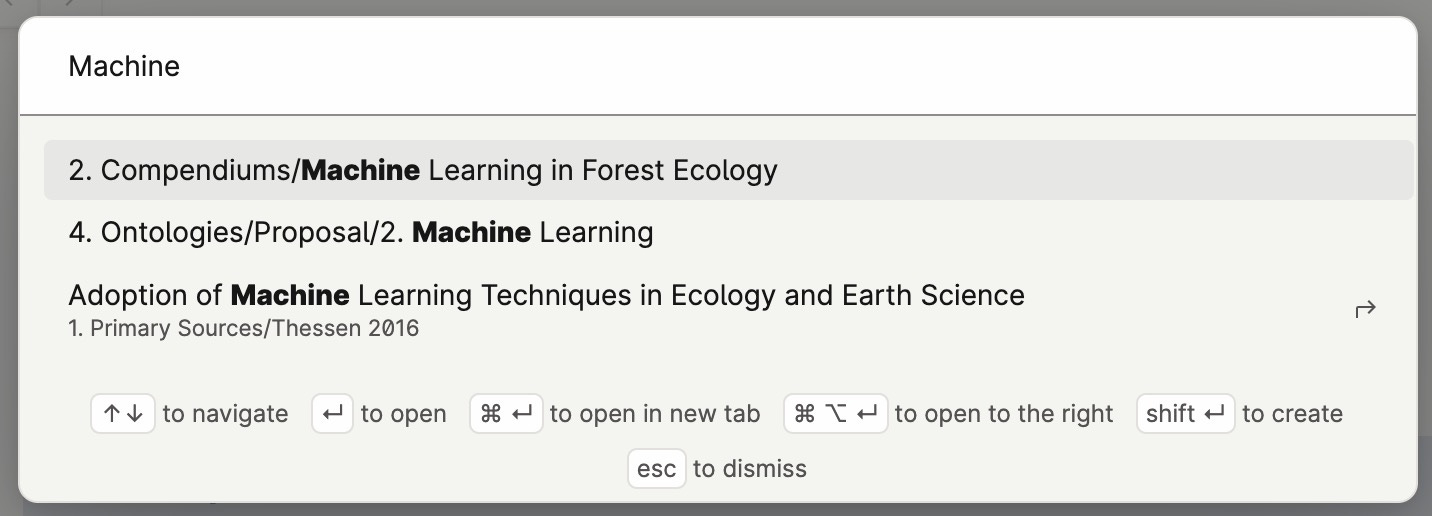
Here is an example when Moving a note, a dialogue opens up where you can select the folder to move to, or just type in a few letters of the name. In the example below i could start typing “sources” and would still find the folder named “1 Primary Sources”, which sounds insignificant but is actually very useful.
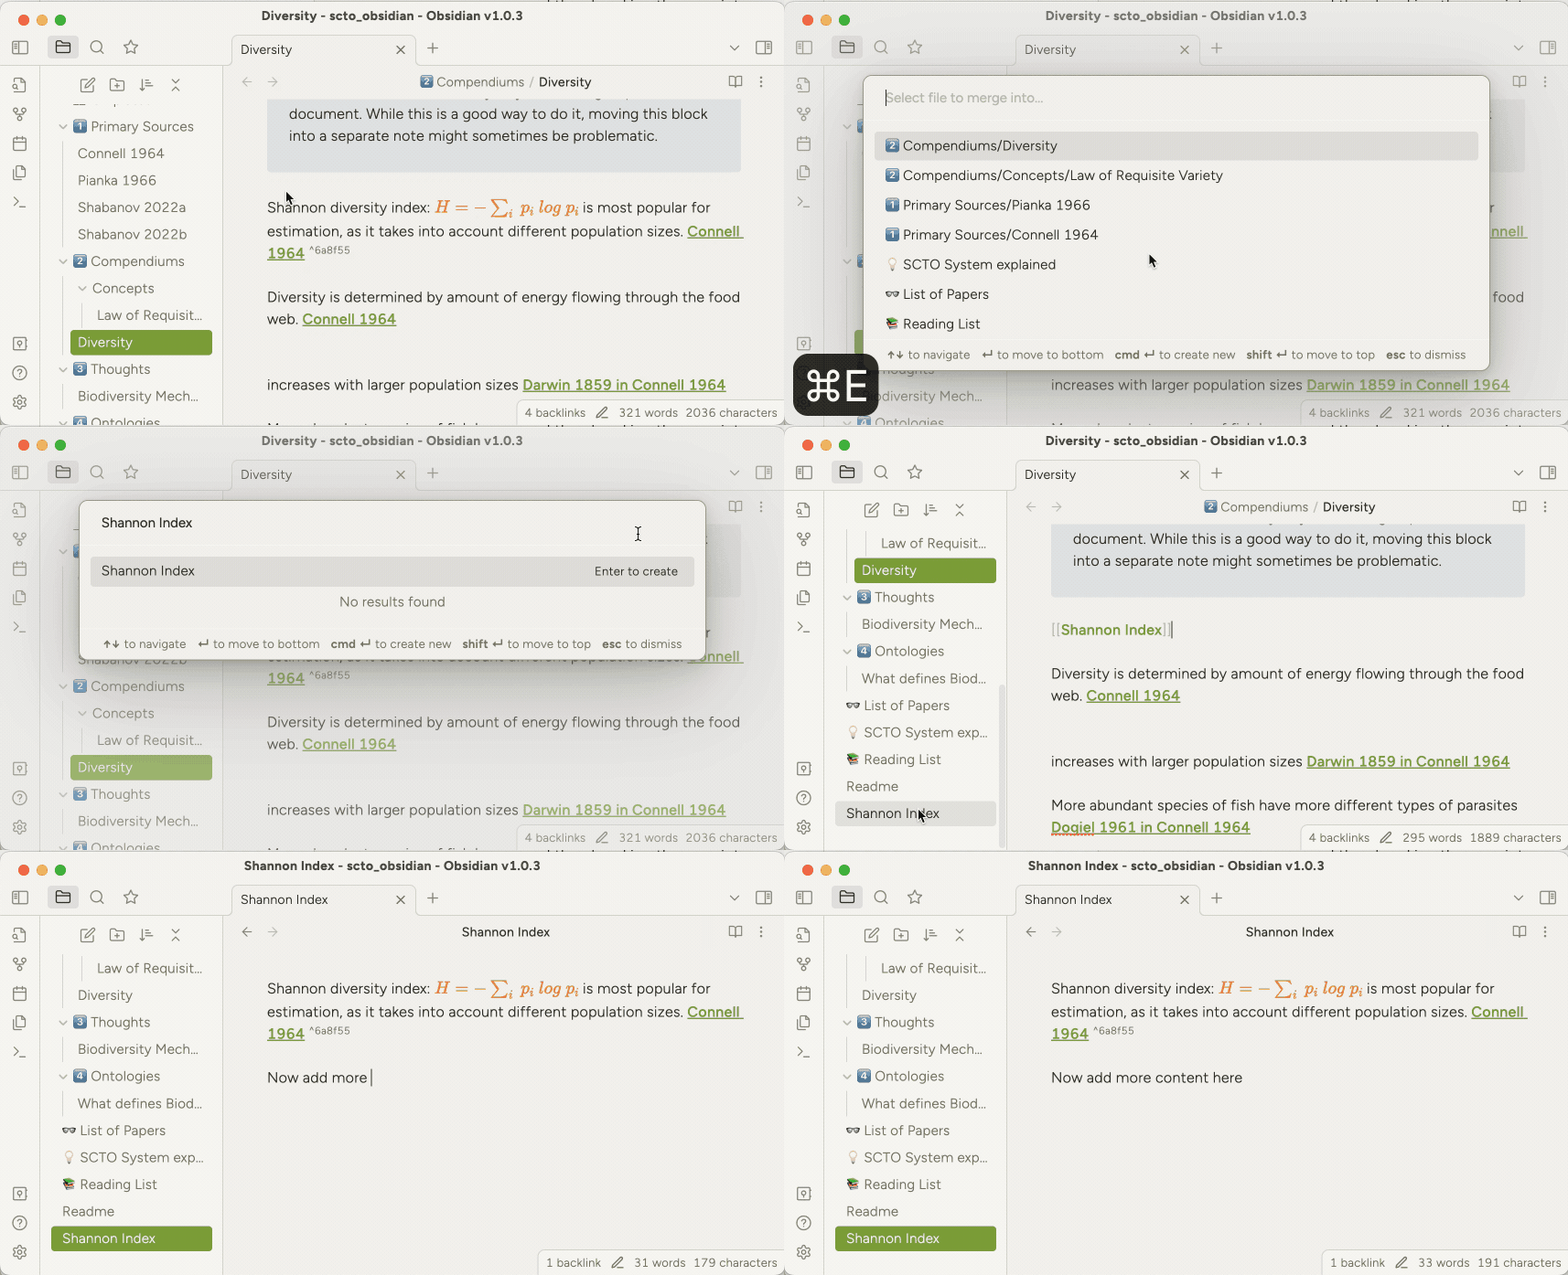
⌘ + E: Extract Selection (to a new or existing note)
By default this key conflicts with "toggling reading view", which I think is quite useless. So I have overwritten it for ease of remembering. This is a very powerful hotkey that fits nicely into my workflow of aggregating factual bits of knowledge in silos I call compendiums. and then breaking them up into smaller notes once it gets too big.
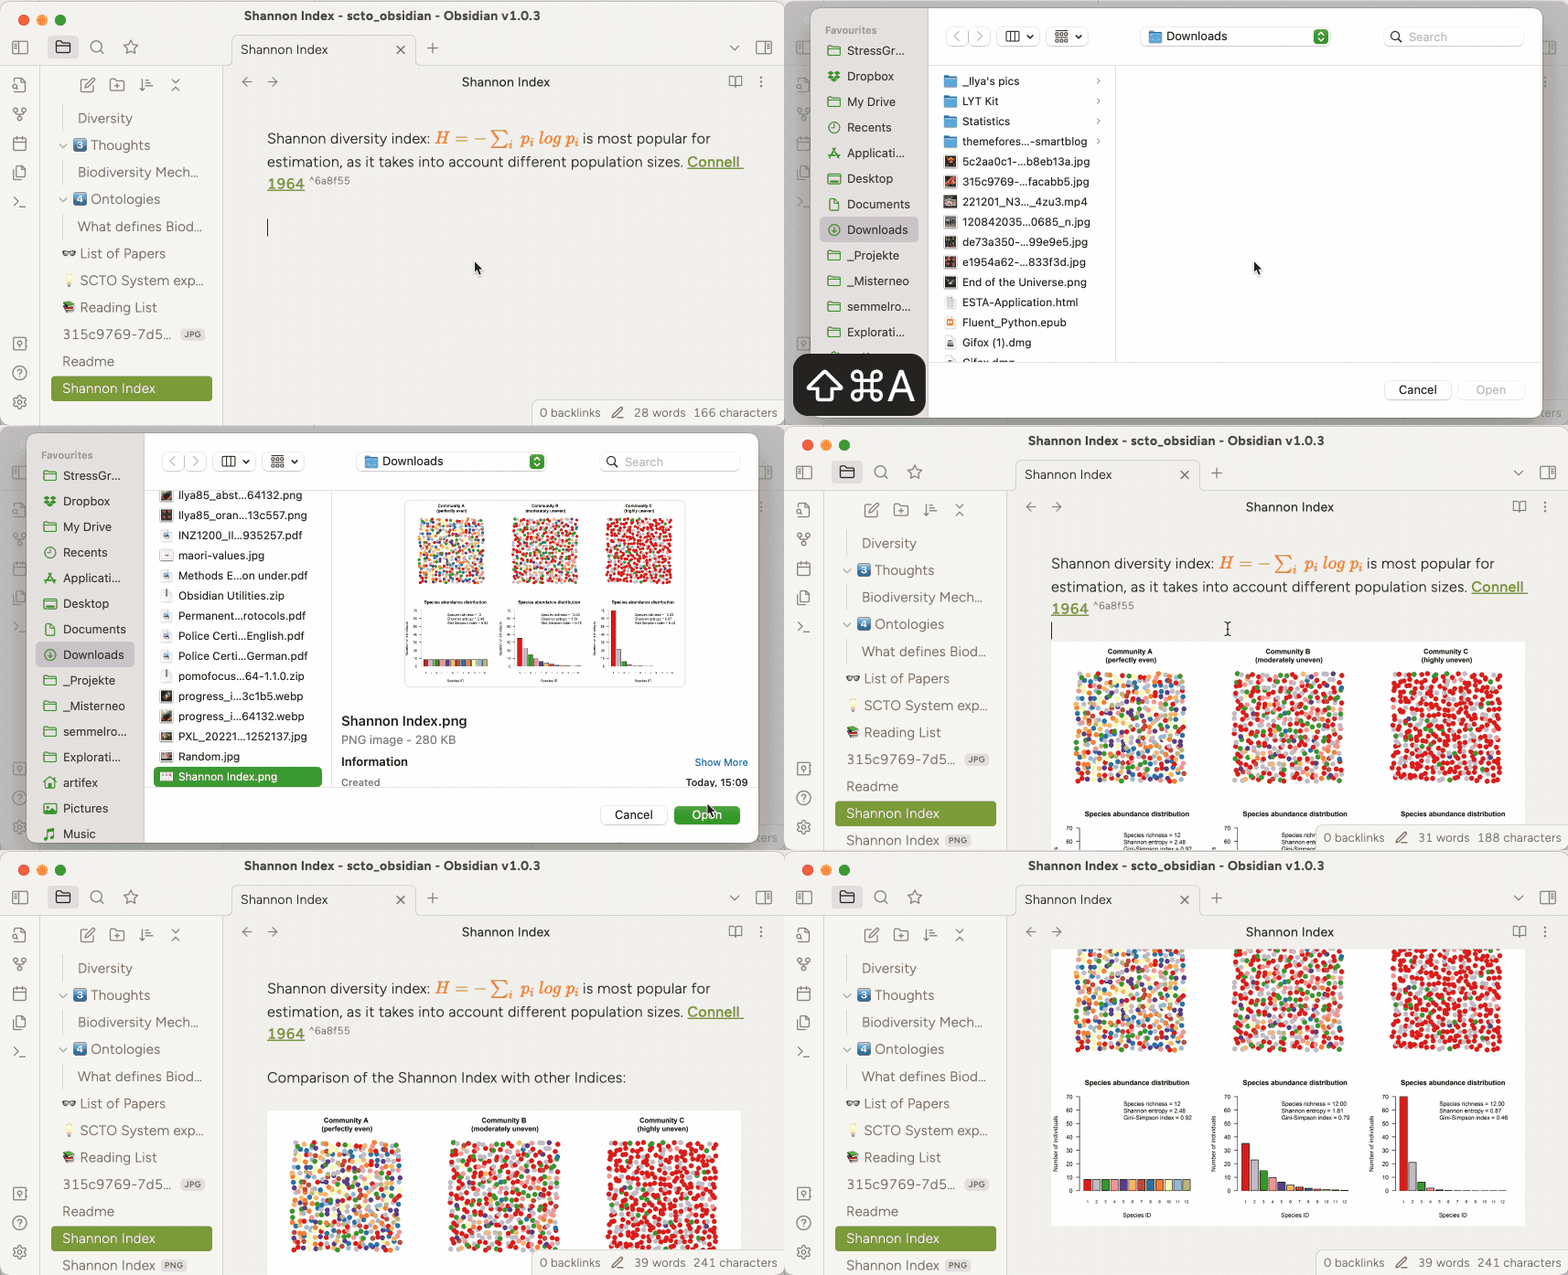
⌘ + ⇧ + A: Insert Attachment.
This will copy any file into your vault and insert it into the current note. An extremely useful tool when you have downloaded a PDF for example and want to move it to your vault and link it in a note. Btw. You can also copy paste a file directly from the file system into Obsidian, with the same effect.
⌘ + ⇧ + T: Will insert a template.
A template is simply a piece of text stored in a note that you can plug into an existing note. Here is how it works. A typical template could be a "Youtube Video embed" or a "Source Note" as I used in my system of academic note taking.
Discovering Notes
⌘ + F: Search in the current file (ctrl + f on Windows)
⌘ + ⇧ + F: Search in all Files (ctrl + shift + F on windows)
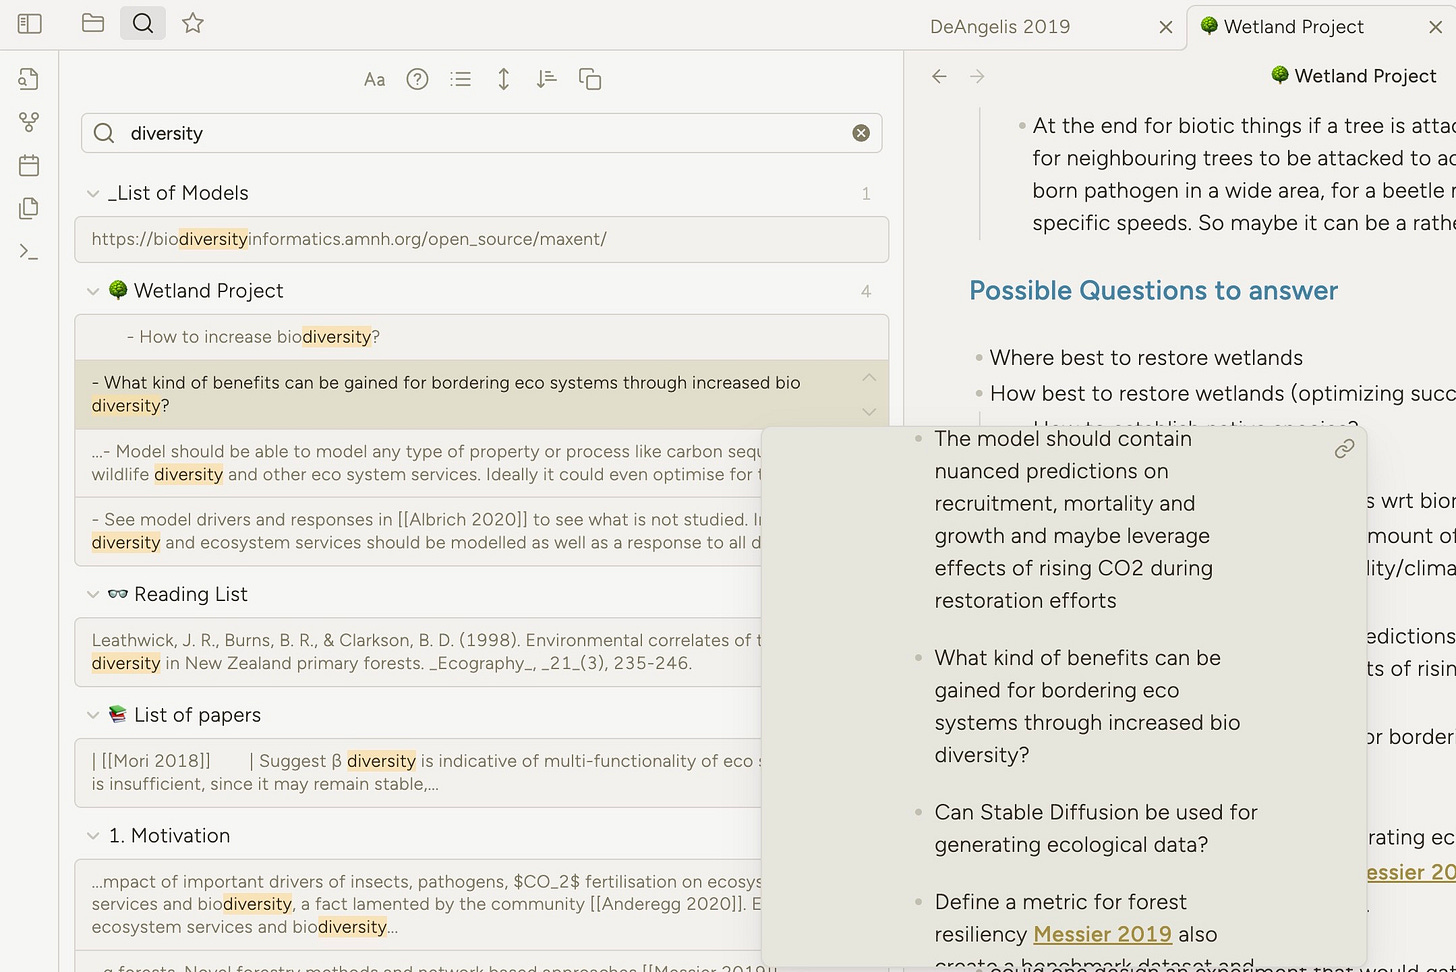
Global search is incredibly powerful and whenever you are out of touch with something, you can just look for keywords. In this example, I look for “diversity” and find different notes referring to this word.
Pro Tip: If you hold “cmd” while hovering over the notes, you can get a hover popup, like the one in the screenshot, that shows you the source note itself.
⌘ + O: Quick Switch to another note (ctrl + O on Windows)
The Joker Hotkey
⌘ + P: Command Palette (ctrl + P on windows)
Whenever I forget a hotkey, I remember that the feature existed. This is how I can quickly look up the hotkey. Next time I will have remembered the keys already.
It is also useful for actions that you rarely use and that aren't worth remembering as a hotkey.
This is overwhelming!
I know it is. Therefore: start small. As a professional programmer, I have been using hotkeys basically all my life. The one thing I can tell you, it is really worth it.
The most important hotkeys are those in the first two categories: Formatting and Navigating text. Chances are you already used "Formatting" in other tools. Learn to use shift and alt keys to speed up your cursor movement.
Once you are faster than you would be with a mouse - you will experience a small sense of high. You will eliminate most of your mouse use. Trust me - i have been doing it for years...
Learning the other hotkeys is a matter of preference.
Are there any videos I uploaded here, where you think "Oh wow that looks cool". Pick one and try using it for a few days. If you learn and remember one hotkey from this post, my job here is done! Don't be hard on yourself.
How to remember all of these keys?
Write them down somewhere where it is easily accessible to you. I really like tot. It pops up on ctrl + shift + m no matter where I am. I also use it to store my todos, quick notes, or things I want to look up often.
Use the Joker Key CMD + P extensively. Whenever you forget something, just use it to look up. After 2 or 3 times you'll remember easily.
How can I use your hotkey settings
The tedious but easy way is to simply go to the Obsidian preferences and configure them for yourself. If you are on Windows I am afraid this is the best I can offer.
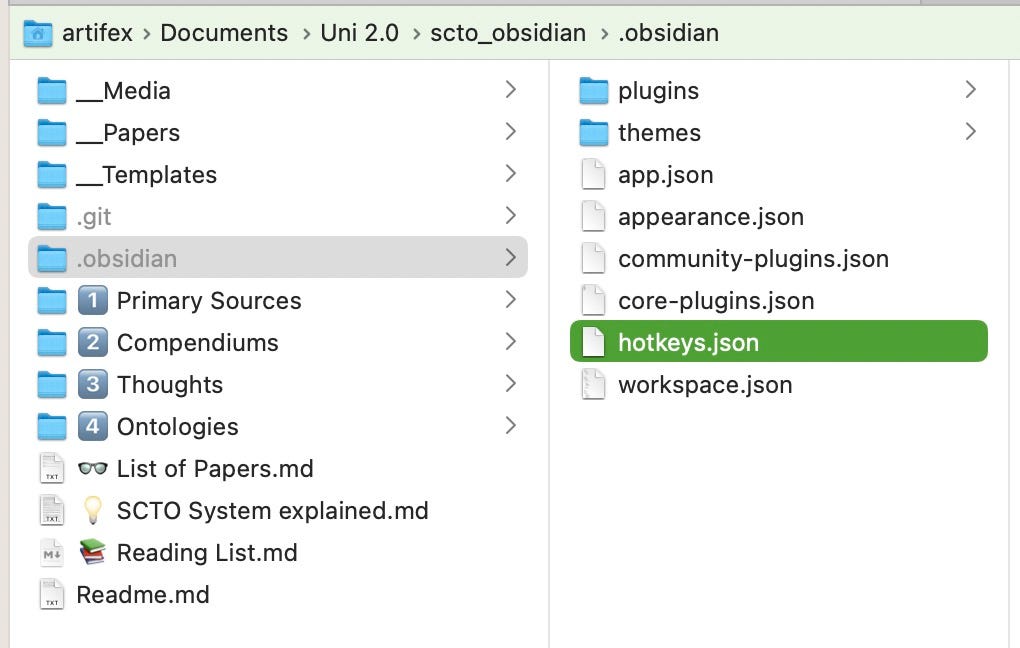
Second Option. Obsidian stores these hotkeys in a file called **hotkeys.json**. Each vault has its own hotkeys.json - which I think is a tiny bit annoying as you have to synchronise your hotkeys across vaults.
The hotkeys.json file is stored inside the .obsidian folder, which is by default hidden (or invisible). Here is a tutorial for Finder on how to show invisible files if you need it.
All you need to do right now is to replace your hotkeys.json file with my hotkeys.json file and then close and reopen your vault.
Here is a link to my hotkeys file with the keys set to the same as in this article.
If you are interested in using my system of academic note-taking, you can read the article and download the example vault. Which already comes with all these hotkeys configured.
Summary
I promised an overview for you. So here it is, ready to copy and paste into whatever document you have.
Format Text:
⌘ + B: Bold / ⌘ + I: Italic / ⌘ + H: Highlight / ⌘ + L: Checkbox /. ⌘ + J: Blockquote
⌘ + K: (Web-)Link. (ctrl + K on windows)
Moving:
Hold ↔ + ⎇ to go word by word or ⌘ line by line
Add ⇧ to additionally select the text.
Navigate:
⎇ + Enter: Follow Link under cursor
⎇⌘ + ←: Navigate back
⌘ + F: Search text in current note
⌘ + ⇧ + F: Search text in ALL note
⌘ + O: Search a note by title
⎇ + 3: Open in Default App (mostly for PDFs)
⎇ + 2: Reveal in Finder (mostly for PDFs)
Manage:
⌘ + ⇧ + A: Insert Attachment
⌘ + E: Extract Selection (to a new or existing note)
⌘ + M: Move the current note to a new folder
⌘ + N: Create a new note (ctrl + N in Windows)
⌘ + ⇧ + T: Will insert a template.
Joker:
⌘ + P: Search a command or lookup hotkey
There it is. I wish you luck in learning the basics. Don’t forget some of these hotkeys are not set by default, go up to the previous section and see how to add them, if you fast forward to here.
Final Remarks
This is the time where I will ask for your support. Articles like this take hours to write and record. If you like it you can support my efforts very easily:
1. Subscribe to the Effortless newsletter if you haven't yet. (Make you happy)
2. Follow me on Twitter. (Make me happy)
3. Share this article/email with like-minded people, if you want to help them. (Make others happy)
There are many more interesting things about note-taking, Obsidian and organising your knowledge. I use a bunch of custom tools and scripts that make life easier and smoother. They will all slowly find a way into this newsletter. You can check out past posts on Substack.
Write a comment below with what you think.
Thanks for your support!


